Add a Tag
A Tag in ReviewStream helps you categorize contacts or groups with meaningful labels.
Adding tags gives you more flexibility when filtering, targeting, or analyzing your audience.
Step-by-Step Instructions
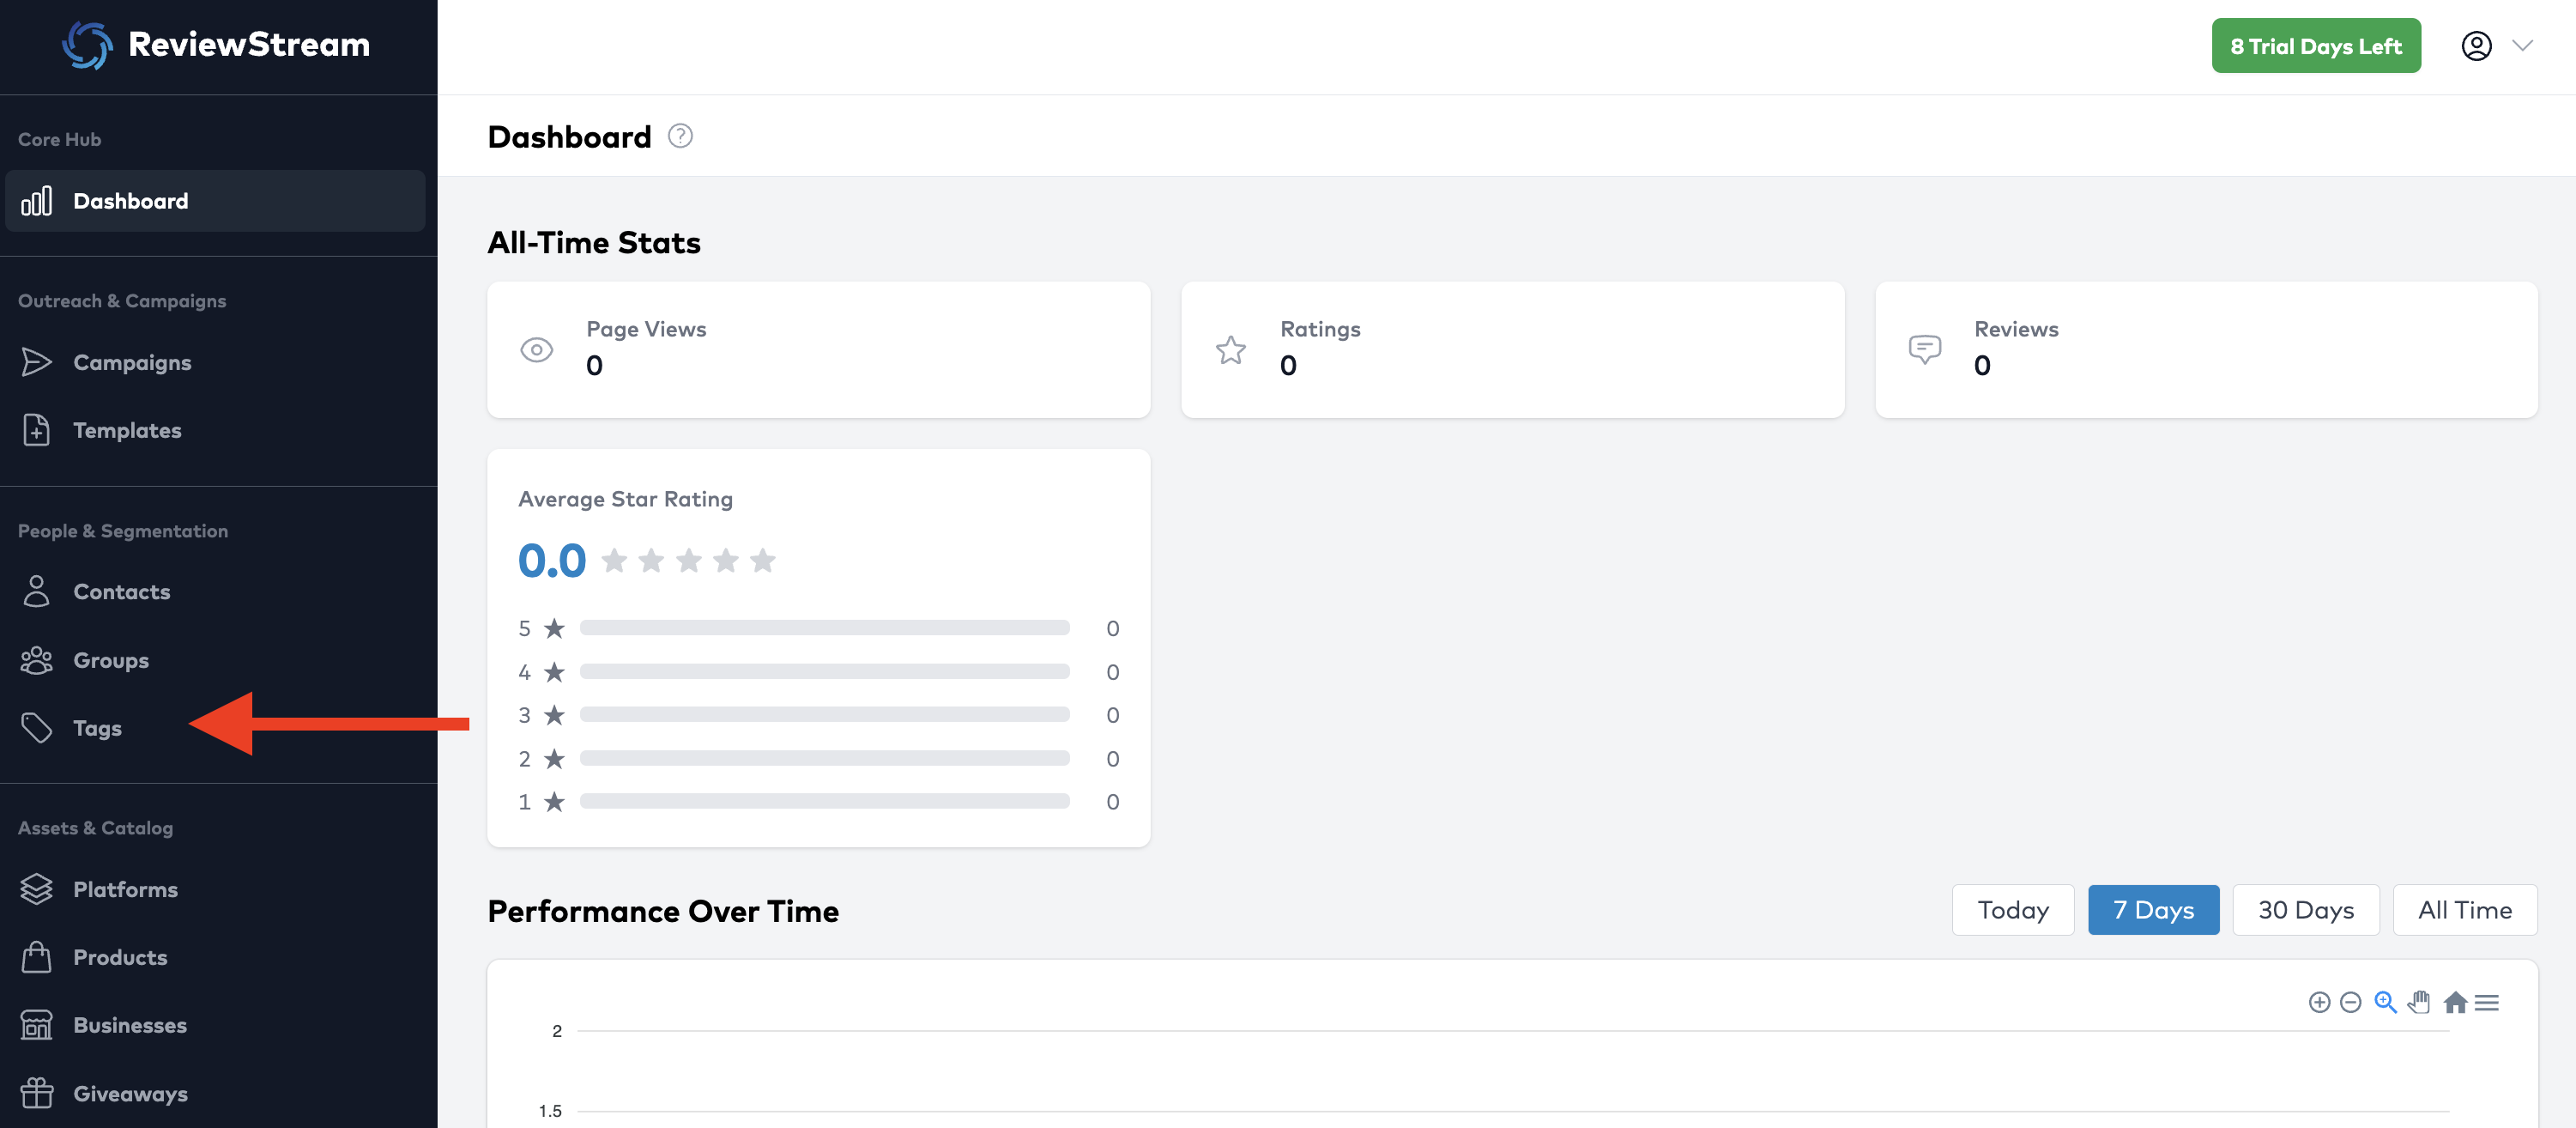
1. Select "Tags" In The Left-Hand Navigation
In the left-hand navigation, select "Tags" to open your tags list.
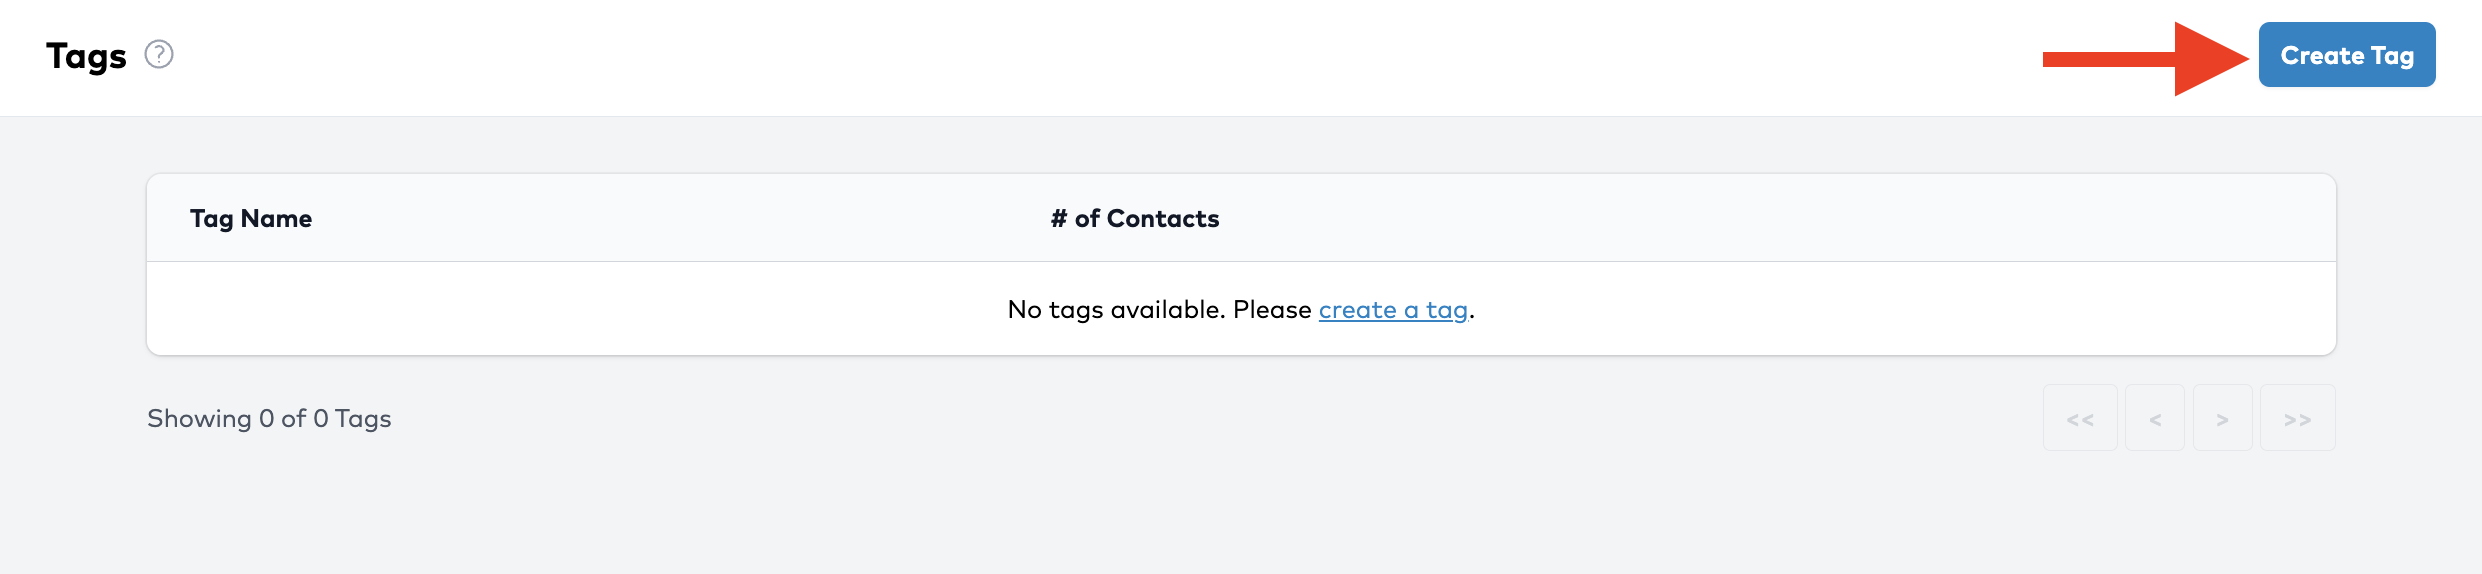
2. Click the "Add Tag" Button
At the top-right corner of the page, click the “Add Tag” button.
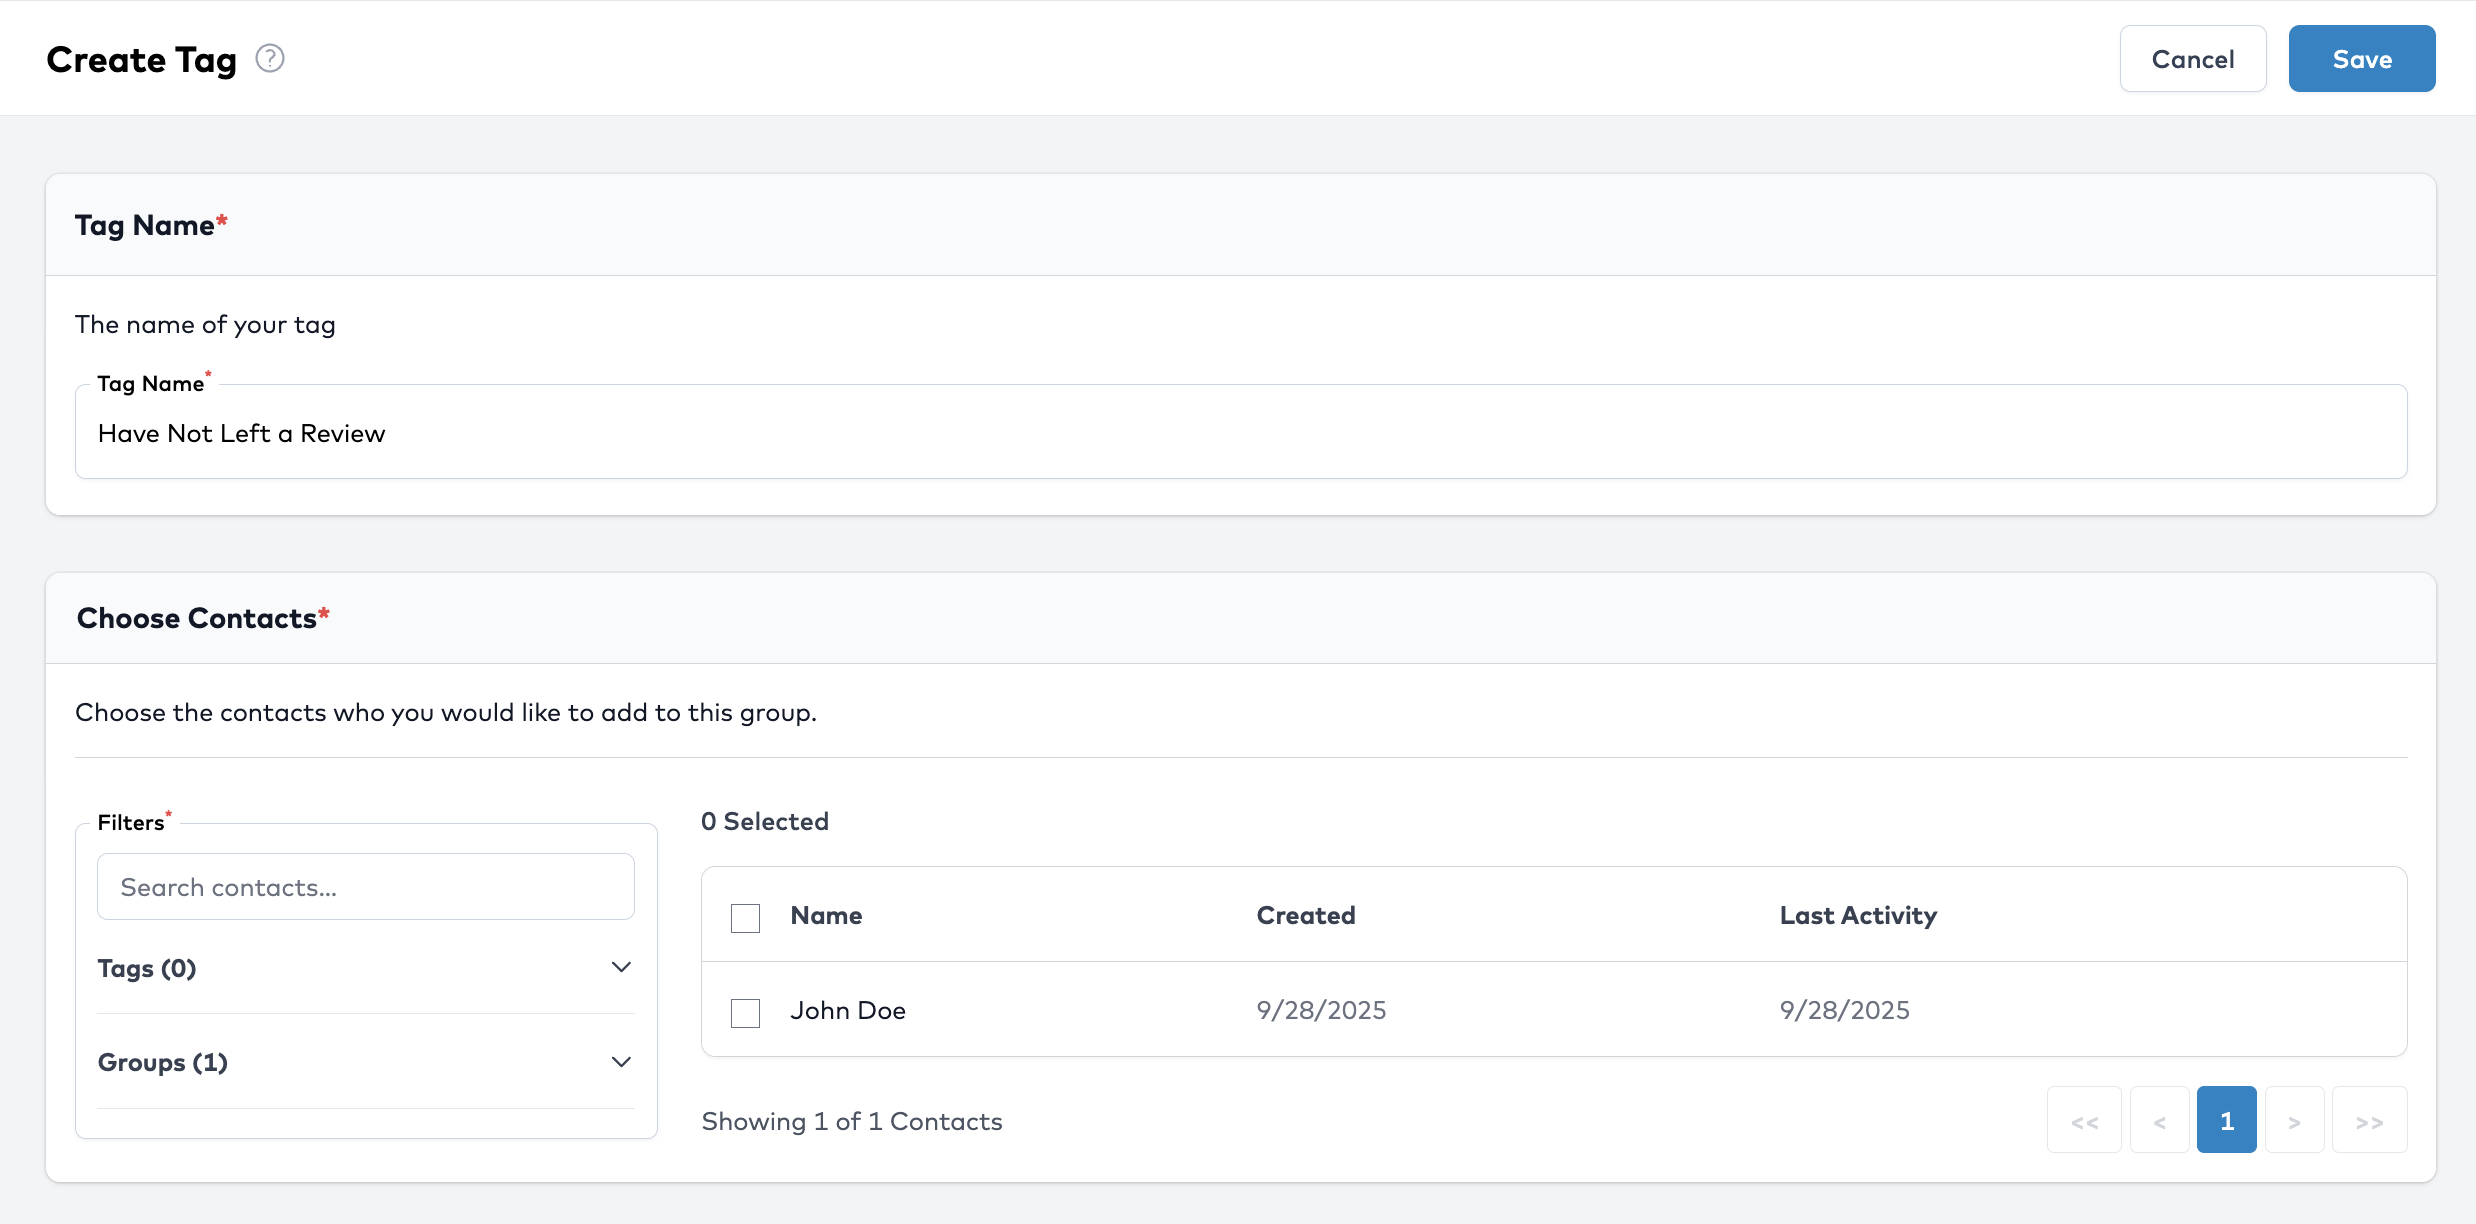
3. Enter Tag Details
Fill in the tag’s information:
- Tag Name – a clear label (e.g. “Loyal Customer”, “Customers who haven't left a Review)
- Assign To Contacts / Groups – optionally select which contacts or groups this tag should apply to
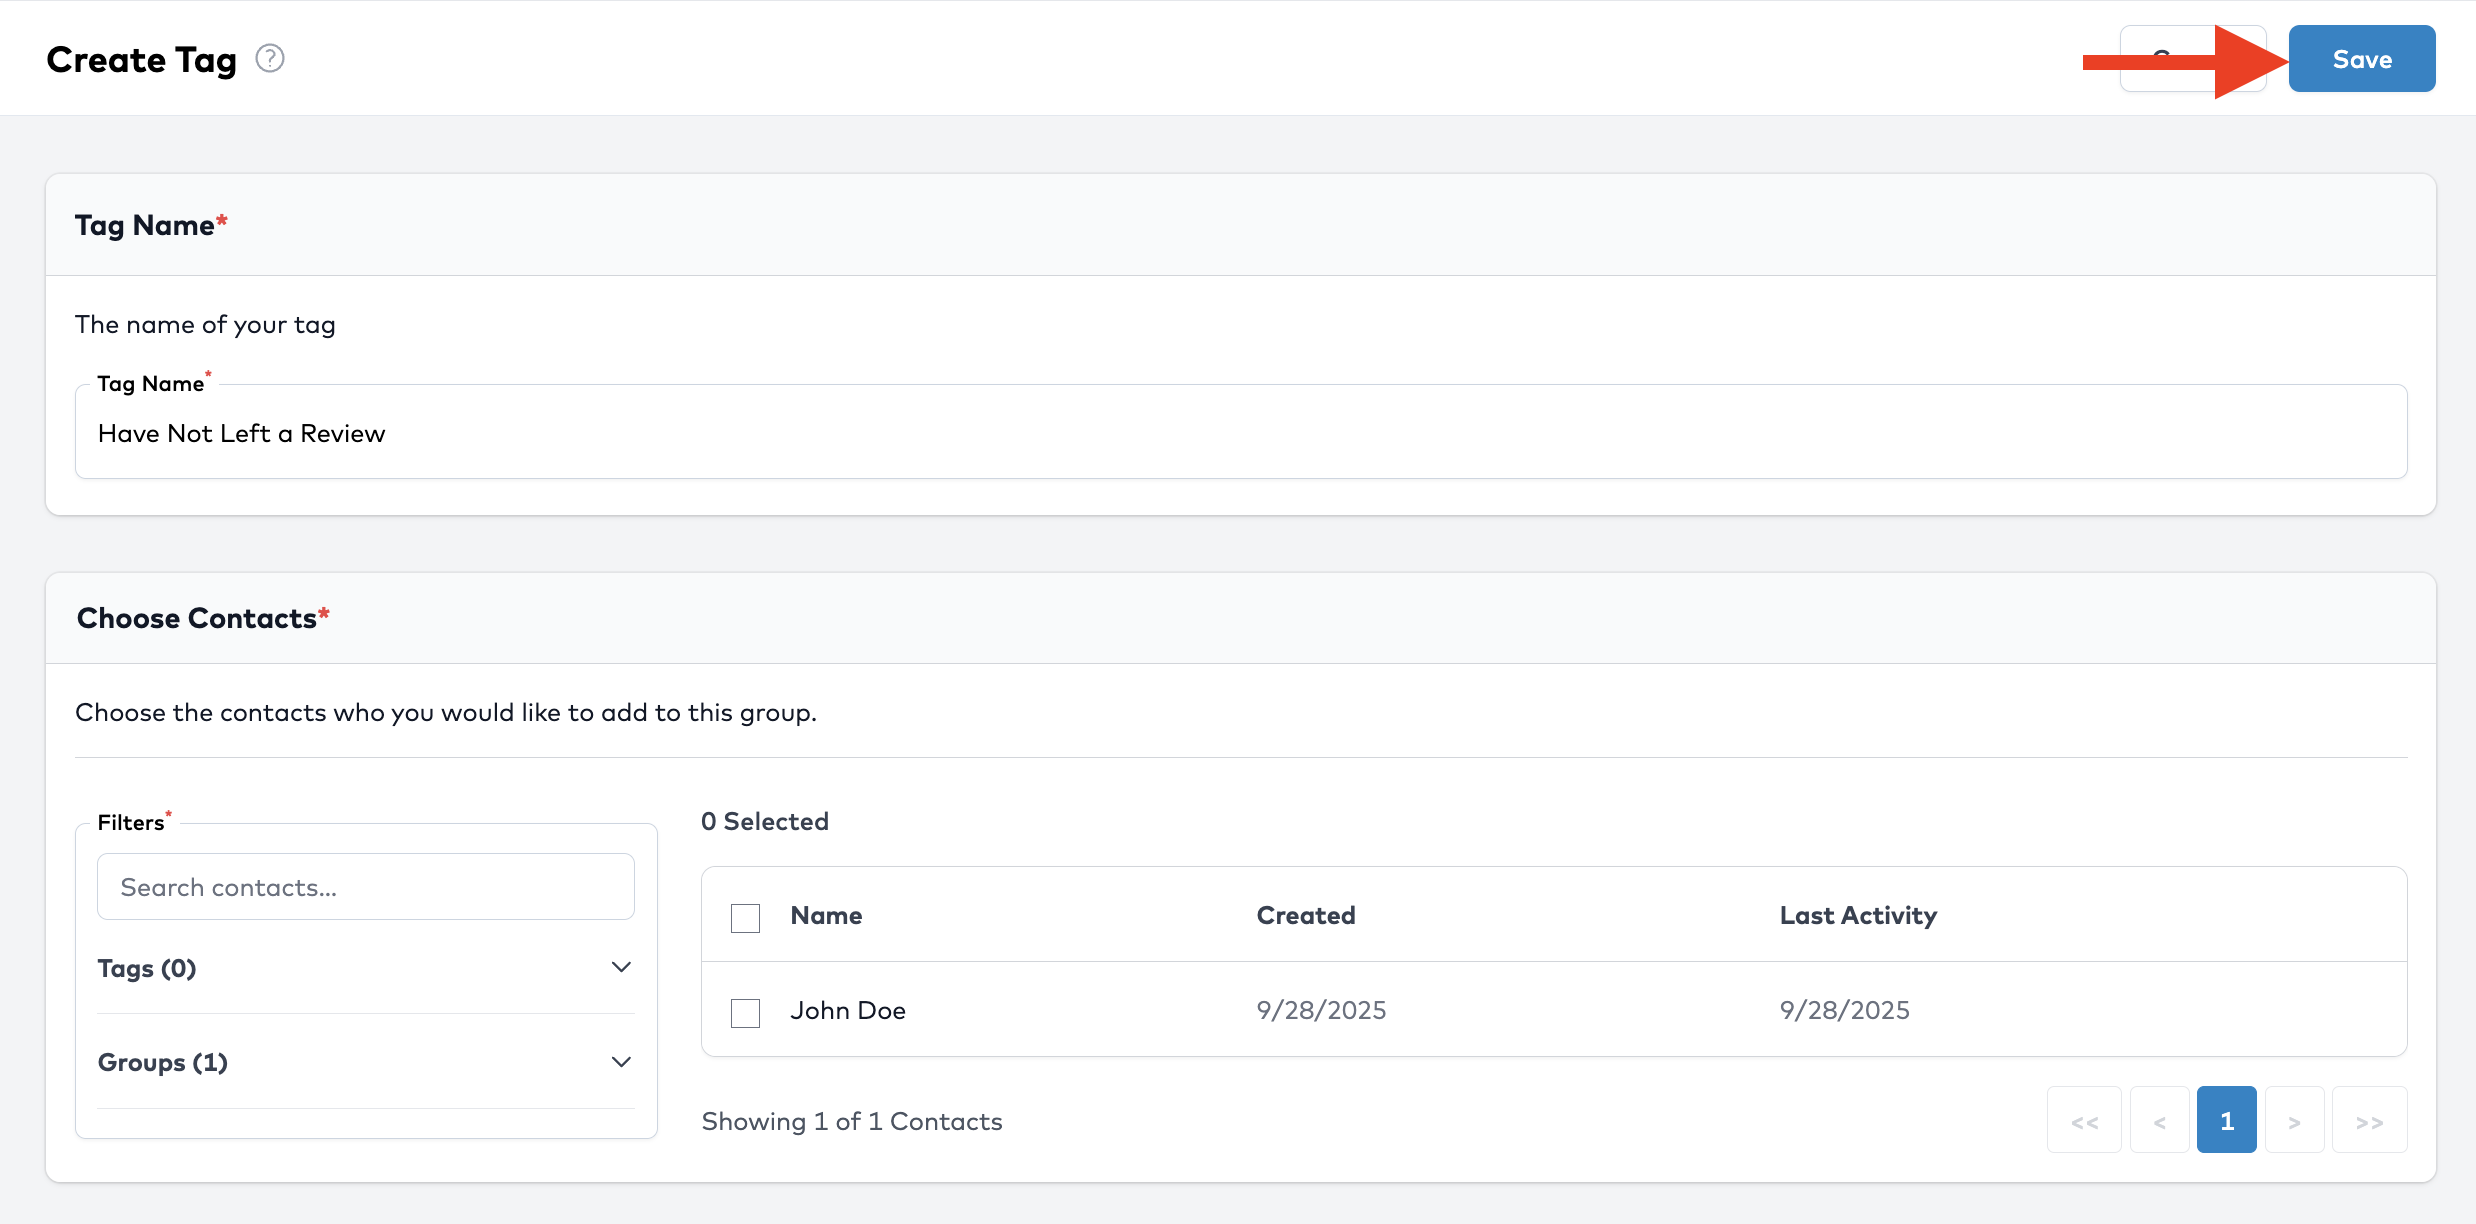
4. Save the Tag
Once you’ve entered all required information, click Save.
Your new tag will now appear in the list and be available for use.
💡 Tips
- Use concise, descriptive names for tags so their meaning is clear
- Don’t over-tag — use tags strategically for useful segmentation
- Periodically review tags and clean up ones no longer relevant
Next Step
Now that you’ve added a tag, you can use it in filters, campaigns, or contact views to segment your audience!