Edit a Survey
Editing a Survey feature in ReviewStream allows you to modify existing surveys you’ve already created.
You can adjust items, platforms, giveaways, entry validation, rating settings, and more - all without needing to create a new survey from scratch.
Step-by-Step Instructions
1. Go to the Surveys Page
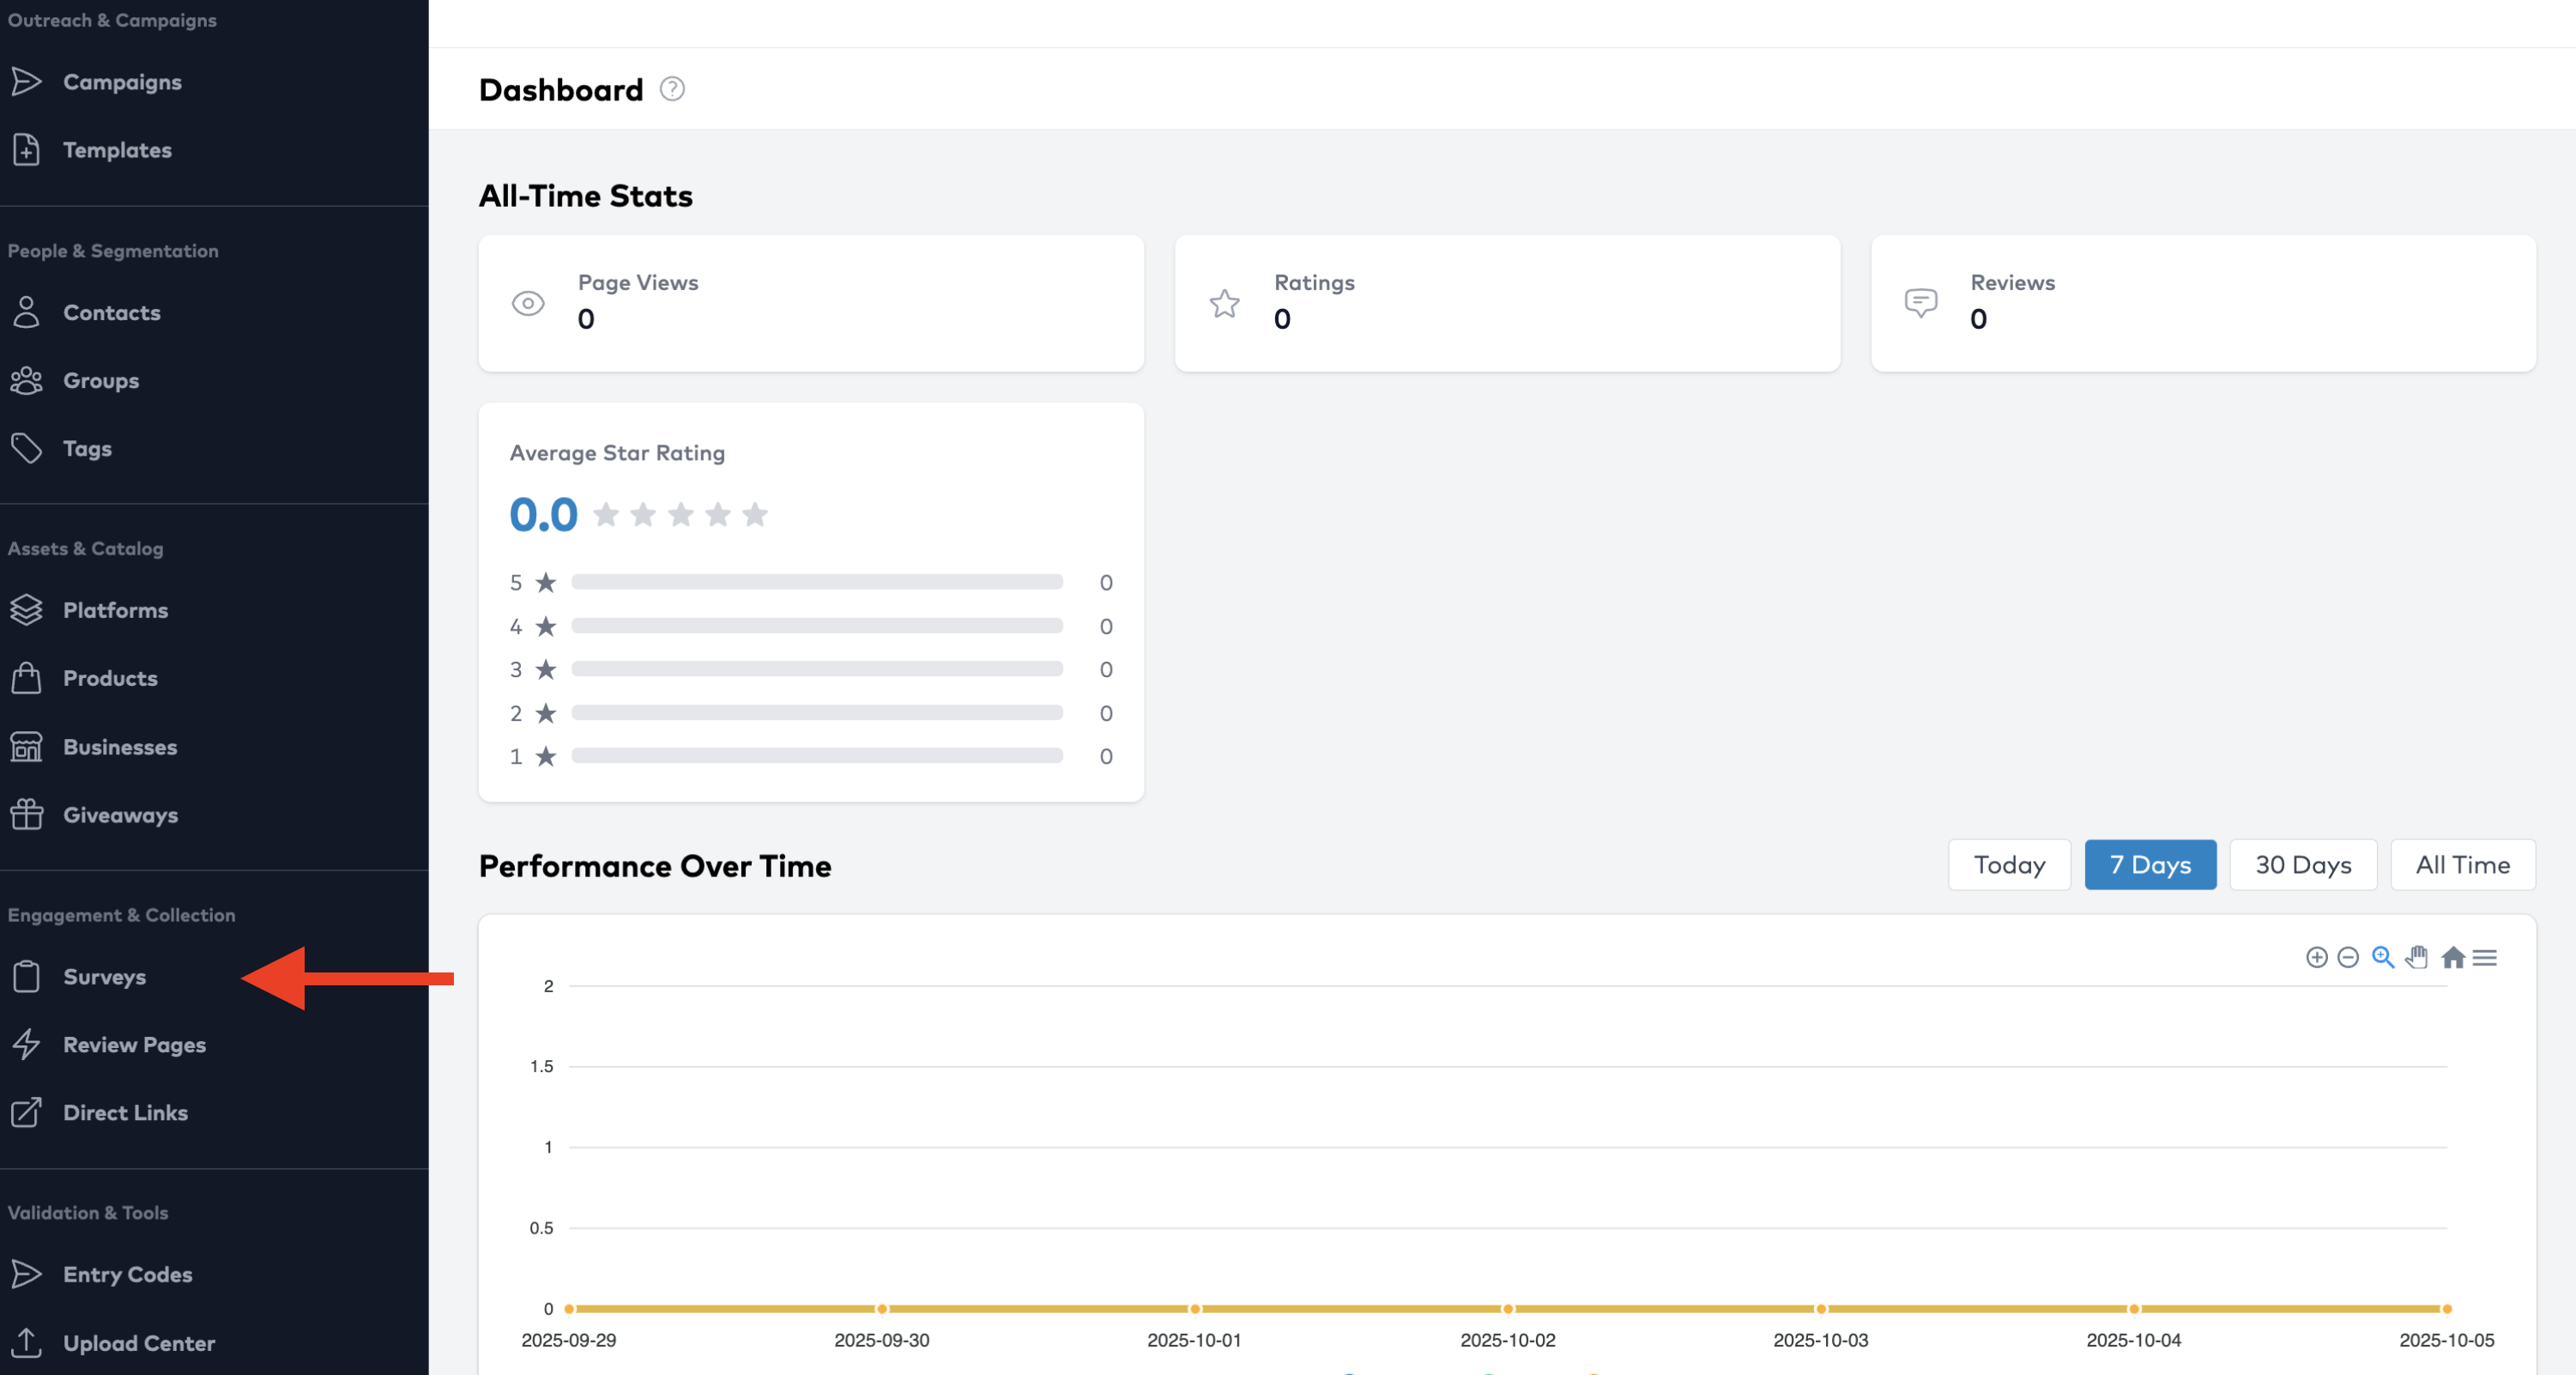
In the left-hand navigation, select “Surveys” to view your list of all active and inactive surveys.
2. Select the Survey You Want to Edit
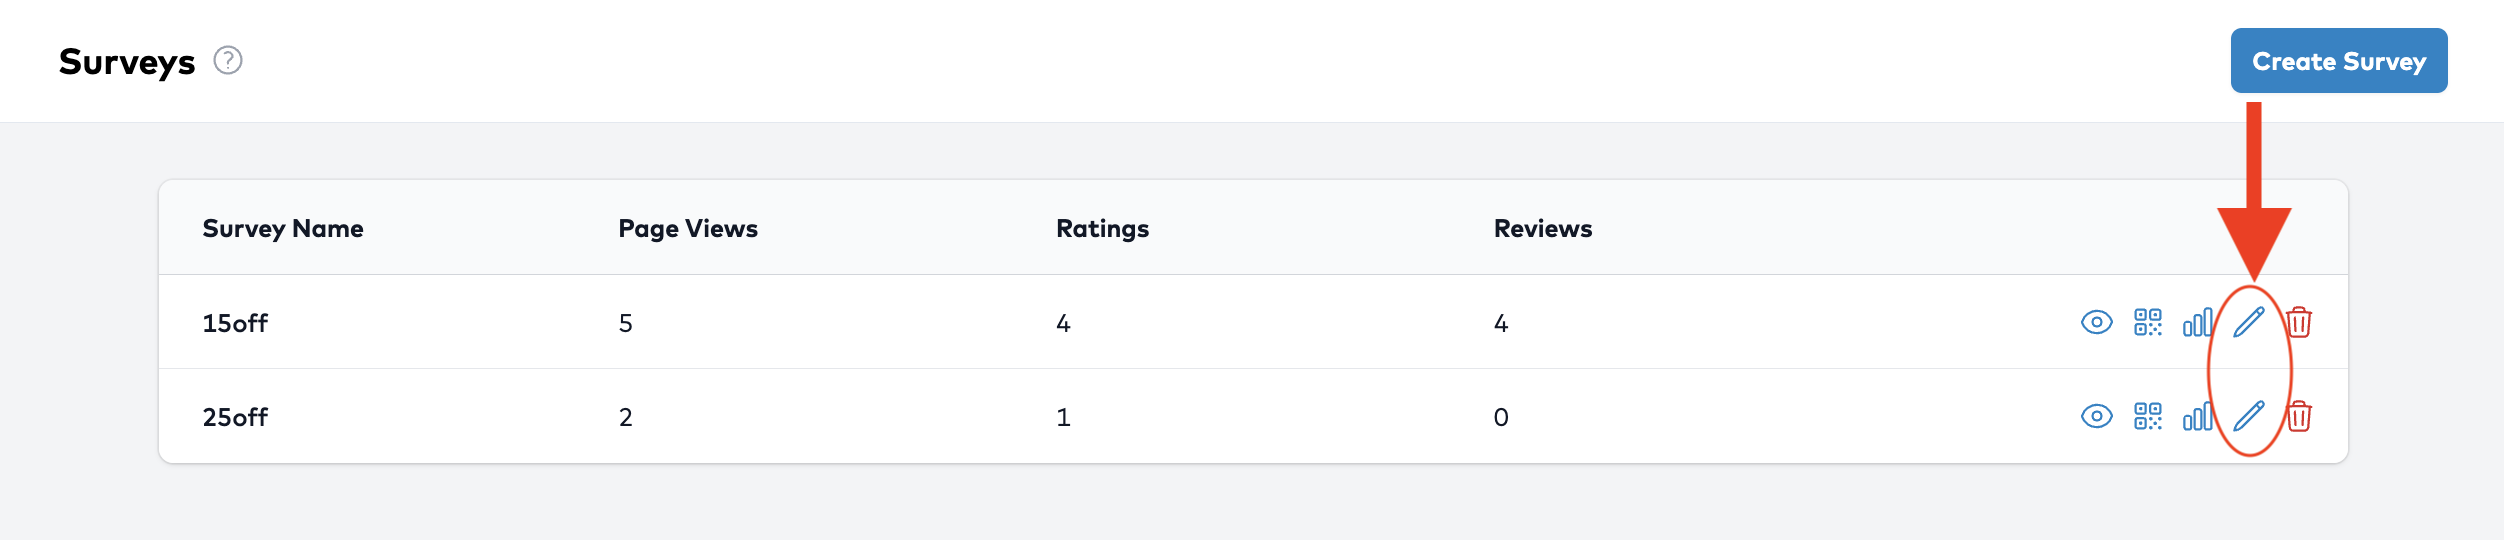
Locate the survey you wish to modify from your list.
Click the “Edit” icon (✏️) to open its details and settings.
3. Update Survey Name
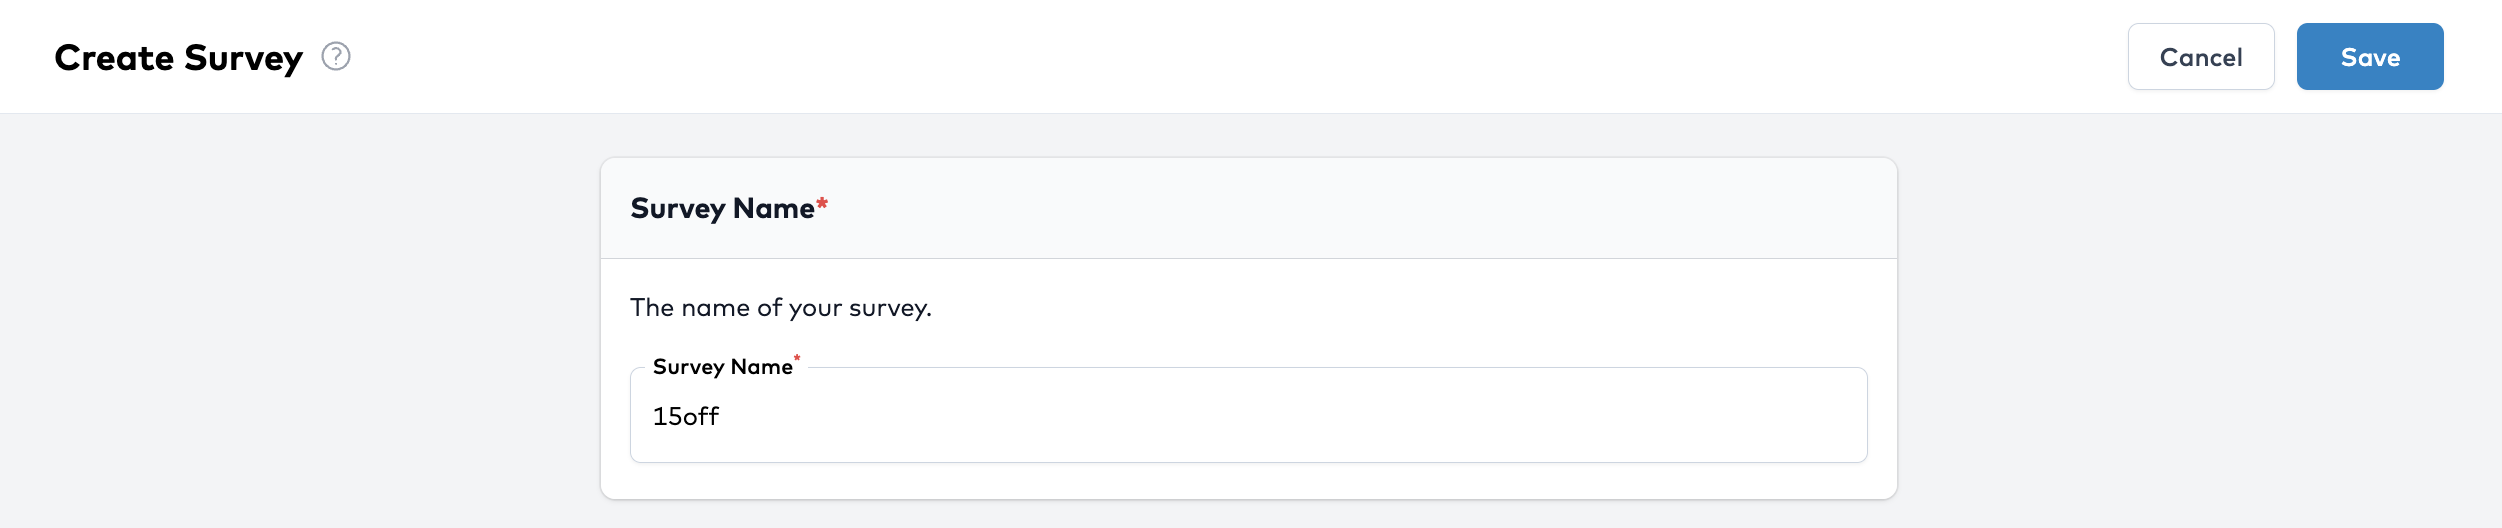
Edit the survey name if you’d like to rename it.
Your updated name will appear throughout your account and in associated links.
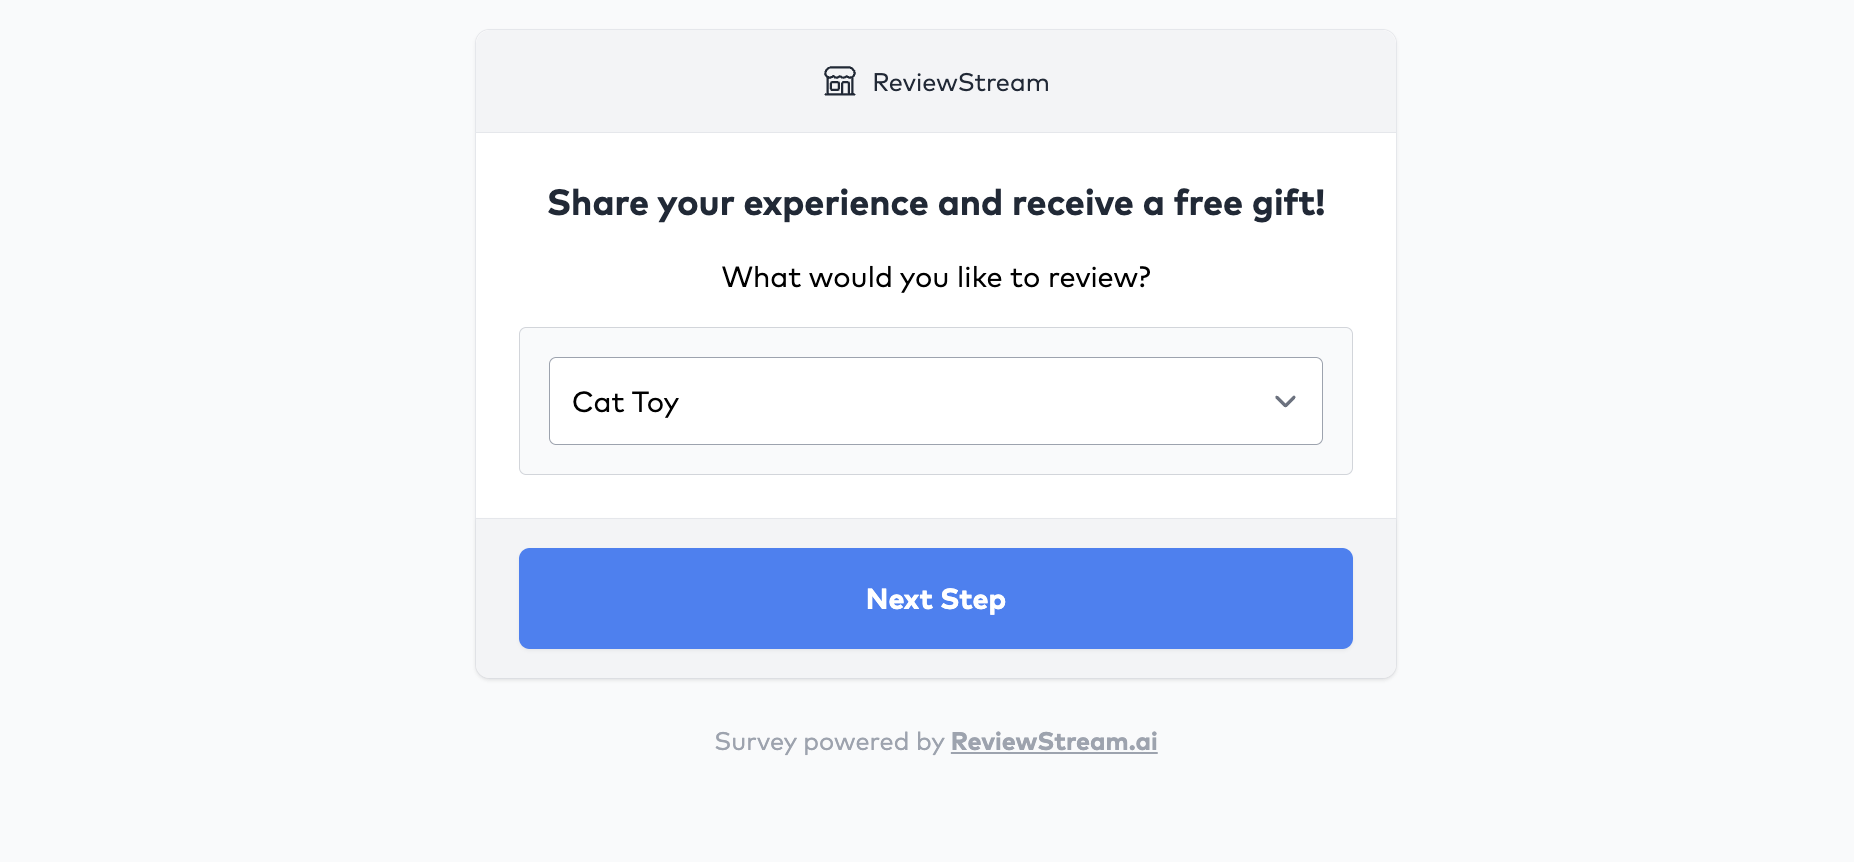
4. Update Items to Get Reviews On
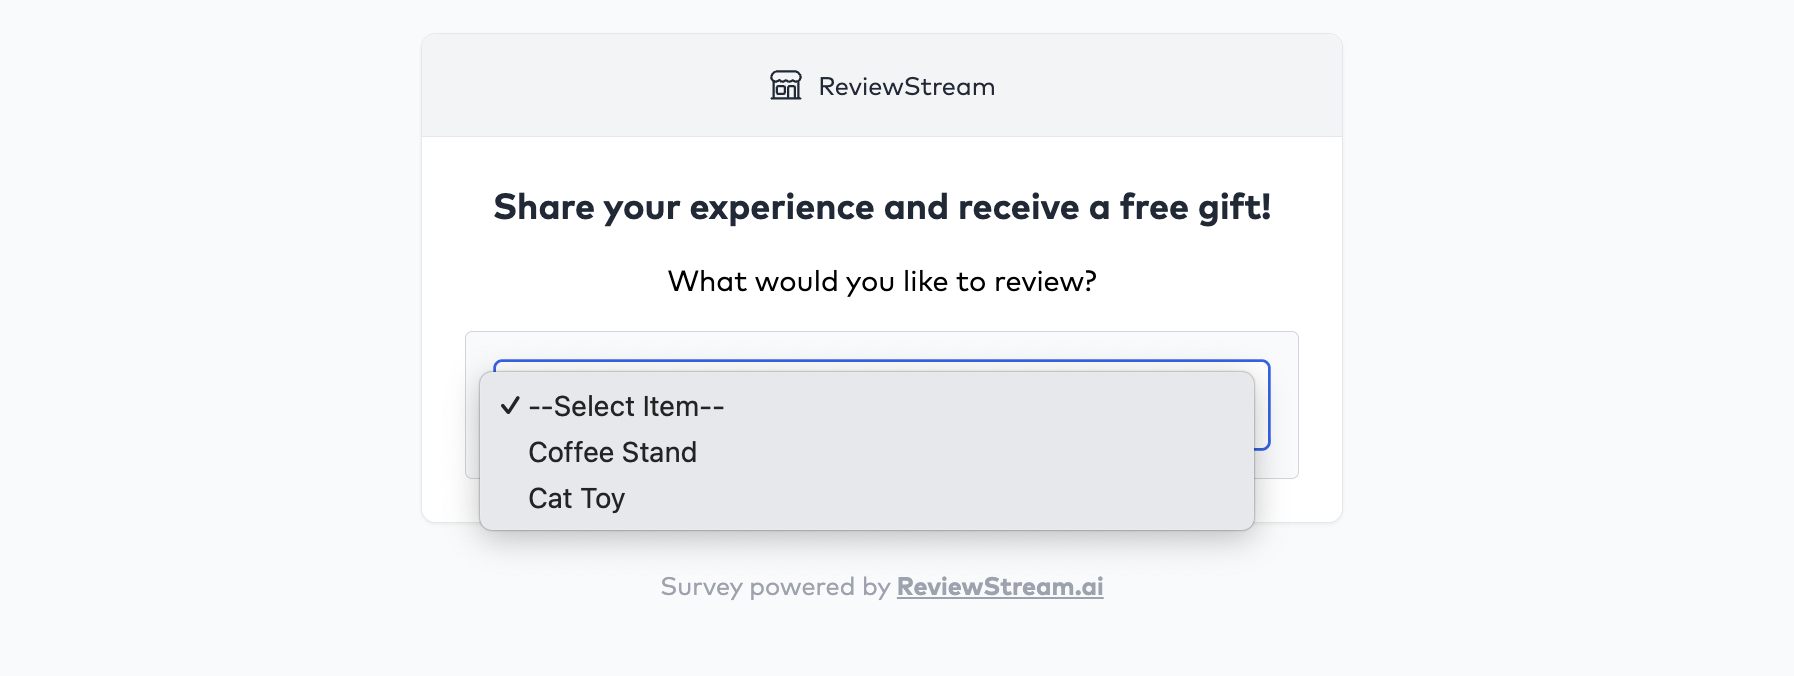
Adjust the items assigned to your survey as needed.
If you add or remove items, respondents will see updated options when selecting which product or service they had an experience with.
Configure Item Platforms & Giveaways
You can also change which review platforms and giveaways are connected to each item.
- The available platforms come from those added to the item in the item creation step.
- The available giveaways come from your global giveaway list.

If you select multiple platforms, respondents will be asked to leave a review on each selected platform.
Once you select a platform, a settings panel will appear asking if you’d like to require your respondent to click off to that platform before continuing.
Do Not Show means the “Review on [Platform]” button will not appear for that platform.
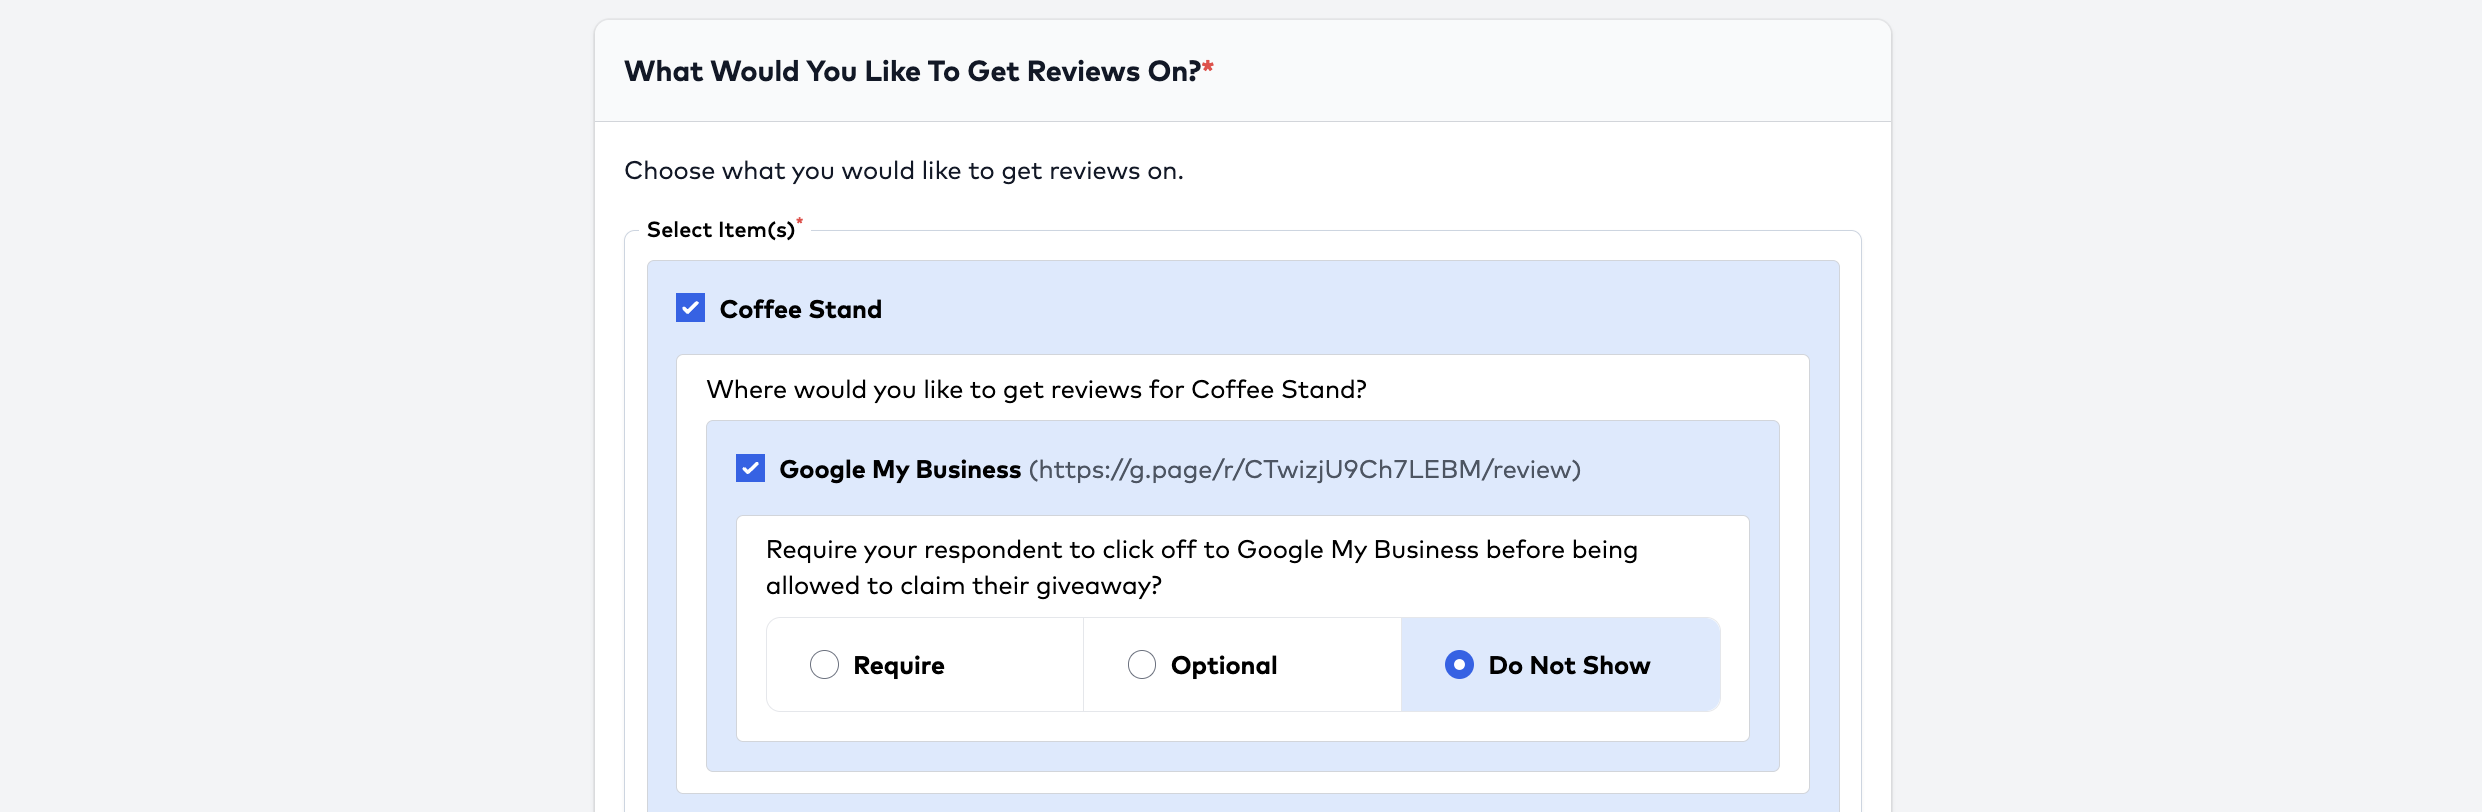
If selected, your respondent won't have an option to click off to a platform, and will only be able to leave the review on ReviewStream.
5. Modify Entry Validation
Change whether your survey requires entry codes or order numbers before respondents can access it.
| Option | Description |
|---|---|
| Yes | Require a valid entry code/order number to access the survey |
| No | Allow anyone to enter the survey without validation |
Entry codes are created and managed under the Validation Tools section in the left-hand navigation.

6. Adjust Rating Settings
Modify how your rating widget behaves.
- Ask For Rating – Show or hide the rating question.
- Require Rating – Make it mandatory to leave a rating before continuing.
- Minimum Star Rating – Decide which ratings can move forward to the external review platform(s).
For example, if you set your minimum star rating to 4, respondents who give a 4 or 5 will be directed to paste their review to external platforms.
Those who rate lower (3 or below) will skip to the giveaway step.
7. Adjust Review Settings
Modify how the review text box functions.
- Ask For Review – Show or hide the review text box.
- Require Review – Require respondents to write a review before continuing.
- Minimum Review Length – Enforce a minimum word or character count if desired.
8. Update Additional Settings
-
Ask For Picture/Video?*
Pictures and videos can enhance the quality of customer reviews.
Decide whether to ask respondents to upload a photo or video with their feedback. -
Enable Redirect?*
Redirect respondents to a custom URL upon survey completion. -
Enable Terms of Service Agreement?*
Enable a Terms of Service (TOS) agreement to appear before respondents enter the survey.
This helps ensure reviews are unbiased by incentives.
![Edit Additional Settings]
9. Click “Save”
Once you’ve made your updates, click Save to apply changes to your survey.
Your edits take effect immediately, and respondents visiting your survey link will see the latest version.
![Save Edited Survey]
Tips
- Use Edit Survey instead of creating duplicates to keep your workspace organized.
- When editing surveys actively in use, double-check that new settings (like validation or minimum ratings) align with your campaign goals.
- If you make major structural changes (e.g., removing items), test the survey link before sharing.
Next Step
Once your survey has been updated, you can continue by managing associated review pages or direct links.